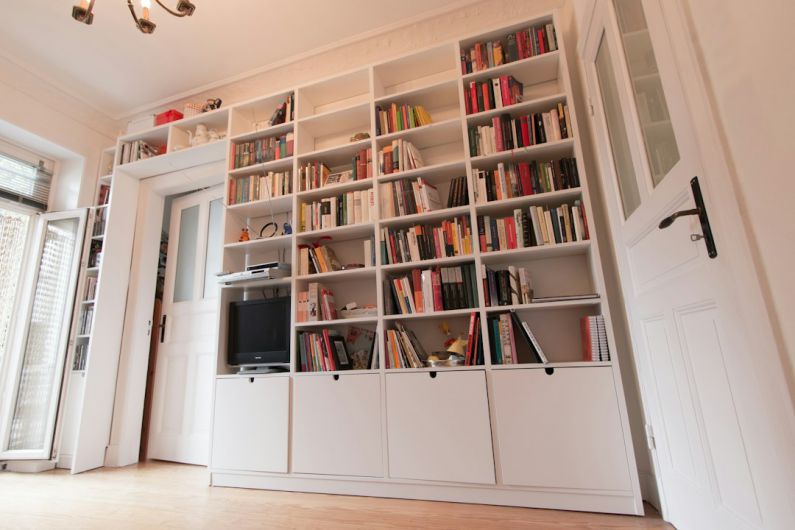
How to Build a Custom Bookshelf for Any Space?
Whether you have a small apartment or a large house, having a bookshelf is a great way to organize and display your favorite books, decorations, and other items. While you can always buy a pre-made bookshelf, building a custom one allows you to create a piece that fits perfectly in any space and matches your personal style. In this article, we will guide you through the process of building a custom bookshelf, from planning to finishing touches.
Planning and Designing
The first step in building a custom bookshelf is planning and designing. Take measurements of the space where the bookshelf will be placed, and consider the dimensions of the items you intend to store. This will help you determine the height, width, and depth of the bookshelf. Additionally, think about the style and materials you want to use. Are you going for a rustic look with reclaimed wood, or a sleek and modern design with metal and glass? Sketch out your ideas and make a list of the materials needed.
Choosing and Preparing the Materials
Once you have a design in mind, it’s time to choose and prepare the materials. Visit your local hardware store or browse online for the wood, screws, and other materials required. If you’re using reclaimed wood, make sure to sand it down and remove any nails or screws. This will give your bookshelf a clean and polished appearance. If you’re using new wood, you may want to stain or paint it to match your desired aesthetic.
Building the Frame
Now it’s time to start building the frame of your bookshelf. Begin by cutting the pieces to the desired dimensions using a saw. Make sure to wear protective gear and follow safety guidelines when using power tools. Once the pieces are cut, assemble them using screws or nails. Use a level to ensure that the frame is straight and sturdy. If needed, reinforce the corners with additional braces.
Adding Shelves
With the frame complete, it’s time to add the shelves. Measure and cut pieces of wood to the desired length and width for each shelf. Place the shelves evenly along the height of the bookshelf, making sure there is enough space between them to accommodate different-sized items. Attach the shelves to the frame using screws or brackets. For added stability, consider adding support brackets underneath the shelves.
Finishing Touches
To give your custom bookshelf a polished look, it’s important to pay attention to the finishing touches. Sand down any rough edges or surfaces, and fill any visible holes or gaps with wood filler. Once the filler is dry, sand again to create a smooth surface. If you’re using new wood, apply a coat of stain or paint to enhance its appearance. You can also add decorative elements such as trim or molding to give your bookshelf a unique touch.
Maintaining Your Bookshelf
Once your custom bookshelf is complete, it’s important to maintain it to ensure its longevity. Dust the shelves regularly and use a furniture polish to keep them looking clean and shiny. Avoid placing heavy items on the shelves that may cause them to sag or warp. If necessary, reinforce the shelves with additional supports.
In conclusion, building a custom bookshelf allows you to create a functional and stylish piece that fits perfectly in any space. By following the steps outlined in this article, you can design and build a bookshelf that showcases your personal style and enhances the organization of your home. So, grab your tools and start building your custom bookshelf today!
