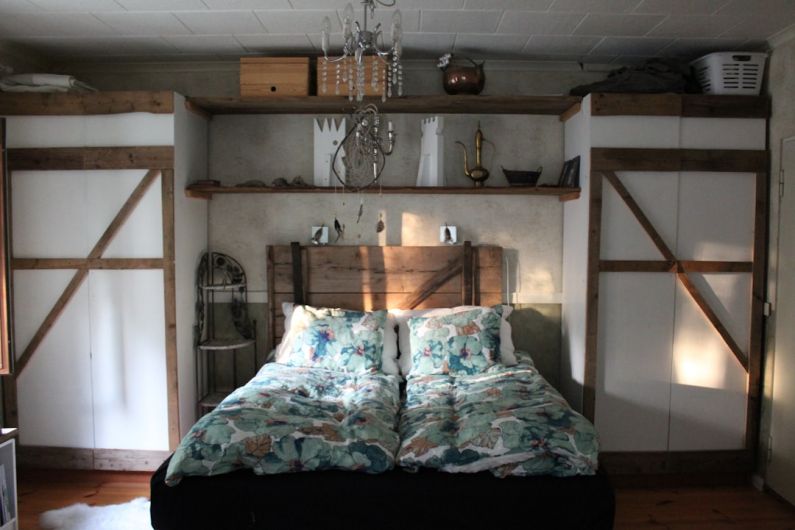
How to Construct a Rustic Wooden Headboard?
Are you looking to add a touch of rustic charm to your bedroom? A wooden headboard can be the perfect addition to create a cozy and inviting atmosphere. Not only does it add character to your space, but it also serves as a focal point in the room. If you’re feeling crafty and want to try your hand at woodworking, constructing a rustic wooden headboard can be a rewarding project. In this article, we will guide you through the process step by step.
Gather Your Materials
Before you begin, gather all the necessary materials. You will need:
– Wood planks: Choose planks that match the desired size of your headboard. Opt for reclaimed or distressed wood for a more rustic look.
– Sandpaper: This will be used to smooth out any rough edges and create a polished finish.
– Stain or paint: Decide whether you want a stained or painted headboard, and choose a color that complements your bedroom decor.
– Wood screws: These will be used to attach the planks together.
– Drill: A drill will be essential for creating holes and securing the screws.
– Saw: If the wood planks need to be cut to size, a saw will be necessary.
– Measuring tape: This will help you determine the dimensions of your headboard.
– Optional: Wood glue, a level, and a paintbrush.
Prepare the Wood
Once you have gathered all your materials, it’s time to prepare the wood. If your planks are not already the desired size, use a saw to cut them to the appropriate dimensions. Next, use sandpaper to smooth out any rough edges or imperfections in the wood. This step is crucial for achieving a polished and professional-looking headboard.
Assemble the Headboard
Now that your wood is prepared, it’s time to assemble the headboard. Lay the planks out on a flat surface in the desired pattern and order. Make sure they are aligned correctly, with no gaps between the planks. If you prefer a more seamless look, you can also opt to glue the planks together using wood glue. Once the planks are in place, use a drill to create holes where the screws will go. This will ensure that the planks are securely fastened together. Finally, attach the planks using wood screws, making sure to tighten them adequately.
Finishing Touches
To complete your rustic wooden headboard, add the finishing touches. If you prefer a stained look, apply the stain using a paintbrush, following the manufacturer’s instructions. Allow the stain to dry completely before moving on to the next step. If you prefer a painted headboard, apply the paint evenly, using a brush or roller. Again, let the paint dry thoroughly before proceeding.
Once the stain or paint has dried, you can add additional elements to enhance the rustic feel. Consider distressing the wood with sandpaper or adding decorative accents such as metal brackets or a carved design. These small details can make a big difference in the overall aesthetic of your headboard.
In Conclusion
Constructing a rustic wooden headboard can be a fun and rewarding project for any DIY enthusiast. With a few basic materials and some creativity, you can create a beautiful and unique piece that adds warmth and character to your bedroom. Remember to gather your materials, prepare the wood, assemble the headboard, and add the finishing touches. So why not give it a try? Your bedroom will thank you for it!