
How to Create Your Own Wall Art with Upcycled Materials?
Creating your own wall art can be a fun and creative way to add a personal touch to your home decor. And what better way to do it than by using upcycled materials? Upcycling is the process of transforming discarded or unused items into something useful and beautiful. Not only does it help reduce waste, but it also allows you to express your creativity and individuality. In this article, we will explore various ideas and techniques on how to create your own wall art with upcycled materials.
Finding Inspiration
Before you start creating your wall art, it’s a good idea to gather inspiration. Look for ideas online, in magazines, or even in nature. Take note of colors, patterns, and textures that catch your eye. This will help guide you in selecting the right materials and design for your project.
Choosing the Right Materials
The first step in creating your upcycled wall art is to gather your materials. Look around your home and see what items you no longer use or need. Old picture frames, fabric scraps, buttons, wine corks, and even broken jewelry can all be repurposed into beautiful wall art. The possibilities are endless!
Preparing the Materials
Once you have collected your materials, it’s time to prepare them for your wall art project. Clean any items that may be dirty or dusty. If you are using fabric, consider washing it to remove any stains or odors. This will ensure that your finished piece looks polished and professional.
Creating the Design
Now comes the fun part – creating the design for your wall art. Start by sketching out your ideas on paper. This will help you visualize the final product and make any necessary adjustments before you begin. Experiment with different layouts and arrangements until you find the perfect design.
Assembling Your Wall Art
Once you have finalized your design, it’s time to assemble your wall art. Start by arranging your materials on a flat surface to get an idea of how they will fit together. Play around with different combinations and arrangements until you are satisfied with the overall look.
If you are using a picture frame as the base for your wall art, remove the glass and backing before you begin. This will allow you to attach your materials directly to the frame.
Attaching the Materials
There are various methods you can use to attach your materials to the base of your wall art. If you are using fabric, you can use a hot glue gun to secure it in place. For smaller items such as buttons or beads, you can use a strong adhesive or even stitch them onto the fabric.
If you are using a wooden base, consider using nails or screws to attach your materials. This will give your wall art a more rustic and unique look.
Adding the Finishing Touches
Once you have attached all of your materials, take a step back and assess your wall art. Are there any gaps that need to be filled? Do you want to add any additional details or embellishments? This is your chance to make any final adjustments and add those finishing touches that will make your wall art truly one-of-a-kind.
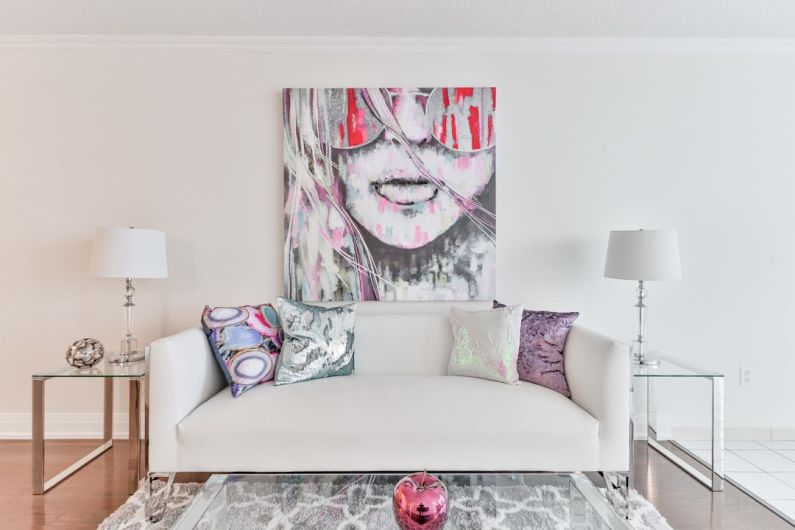
Displaying Your Wall Art
Once your wall art is complete, it’s time to find the perfect spot to display it. Consider hanging it in a prominent place where it can be admired by all. You can also group multiple pieces together to create a gallery wall effect.
Creating your own wall art with upcycled materials is a rewarding and eco-friendly way to add personality and style to your home. By repurposing items that would otherwise end up in the trash, you can create unique and meaningful pieces of art that reflect your individuality. So, gather your materials, let your creativity soar, and start transforming your space with your own upcycled wall art!