How to Design and Sew Your Own Curtains?
Curtains are an essential element of any home decor. They not only provide privacy but also add a touch of elegance to a room. While there are plenty of ready-made curtains available in the market, designing and sewing your own curtains can be a rewarding and cost-effective project. In this article, we will guide you through the process of designing and sewing your own curtains, from choosing the fabric to adding the finishing touches.
Choosing the Fabric
The first step in designing your own curtains is choosing the right fabric. Consider the style and purpose of the curtains. For a formal and luxurious look, opt for heavy fabrics like velvet or brocade. If you prefer a more casual and airy feel, lightweight fabrics such as linen or cotton are ideal. Take into account the color scheme of the room and select a fabric that complements the overall decor.
Measuring and Cutting
Accurate measurements are crucial to ensure that your curtains fit perfectly. Measure the width and height of your windows, adding extra inches for hems and headers. It’s always better to have curtains that are slightly longer and wider than necessary, as they can be easily altered later. Once you have the measurements, lay out the fabric on a flat surface and cut it accordingly. Use sharp fabric scissors to achieve clean and precise cuts.
Hemming and Seaming
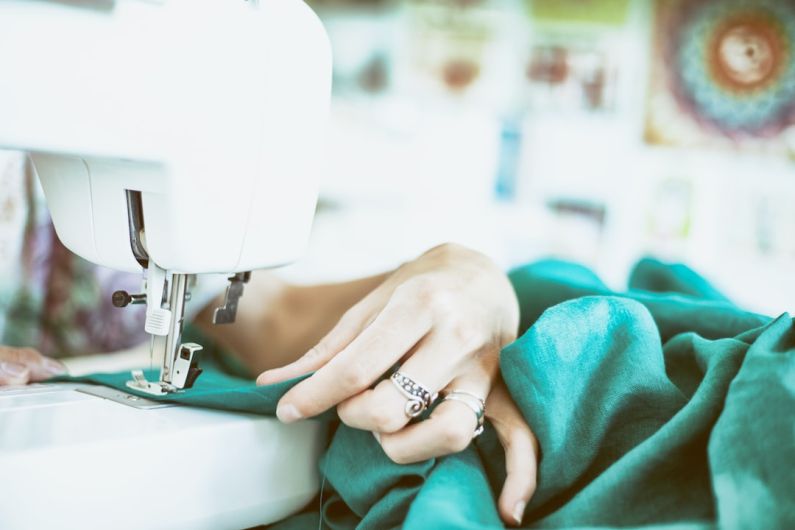
To give your curtains a polished look, hem the edges. Fold the fabric over twice and sew it in place using a sewing machine or by hand. If you want to add a decorative touch, consider using a contrasting thread color or adding a trim along the hem. If your curtains are wider than the width of your fabric, you might need to seam two or more panels together. Align the edges of the fabric and sew them securely. Reinforce the seams by backstitching at the beginning and end.
Creating Headers and Rod Pockets
Headers and rod pockets are essential for hanging curtains. There are various options to consider, such as rod pockets, tab tops, or grommets. Rod pockets are the most common type and are created by folding the fabric over, leaving enough space for the rod to pass through. Sew the pocket in place, ensuring it is wide enough to accommodate the rod. For a more decorative touch, you can attach fabric tabs or use grommets to create a modern look.
Adding Lining and Interlining
Lining and interlining not only enhance the appearance of your curtains but also provide insulation and protect the fabric from fading. To attach the lining, lay it on the backside of the curtain fabric and sew along the edges. Interlining, a layer of fabric placed between the curtain fabric and lining, adds thickness and body to the curtains. Baste the interlining to the curtain fabric before attaching the lining.
Finishing Touches
Once you have completed the main construction of the curtains, it’s time to add the finishing touches. Press the curtains to remove any wrinkles and give them a crisp look. You can also add tiebacks or holdbacks to keep the curtains open during the day. Consider embellishments like tassels, fringe, or decorative trim to add further interest.
In conclusion, designing and sewing your own curtains is a fulfilling and creative project that allows you to customize your home decor. By following these steps, you can create curtains that perfectly suit your style and preferences. Remember to choose the right fabric, measure and cut accurately, and pay attention to details like hemming, headers, and lining. With a little time and effort, you’ll have stunning curtains that will enhance the beauty of your space.


